
How to avoid the loss of some image areas while resizing?
- Introduction
- Step 1: Download and install Soft4Boost Image Converter
- Step 2: Run Soft4Boost Image Converter and select your input files
- Step 3: Resize your image files
- Step 4: Edit your image files (optional)
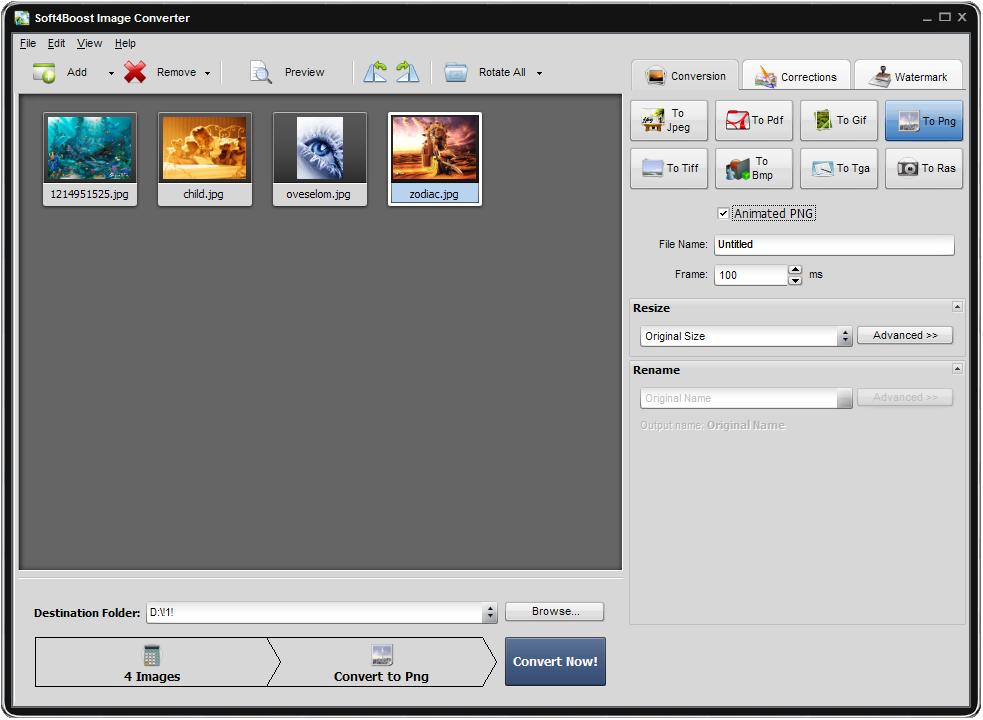
- Step 5: Set output parameters
- Step 6: Convert your images
When you try and create a photo album to share it online, you need to resize a bunch of digital pictures so that they were of a necessary size. In this case some image areas might be lost while resizing. Soft4Boost Image Converter will solve this issue. Using this program you can resize your pictures without the loss of image areas just following the instructions below.
Step 1: Download and install Soft4Boost Image Converter
Click here to download it. After the download is finished, run the S4BImageConverter.exe file and follow the installation wizard instructions.
Step 2: Run Soft4Boost Image Converter and select your input files
First of all run Soft4Boost Image Converter. To do that find the corresponding program icon on your desktop and double-click it. If you unchecked the Create desktop icon box during the installation, you can run the program from the Start menu. Please follow Start > All Programs > Soft4Boost > Image Converter.
To load image files you would like to convert click the Add button on the Toolbar. You will be able to load a series of images stored on your computer HDD.
To load a folder with images stored on your computer HDD click the black arrow next to the Add button and select the Add Folder option.
In the opened Windows Explorer window select the necessary image files or the folder with images and click the Open button to load them to the program.
Step 3: Resize your image files
To resize your pictures use one of the available presets from the drop-down list of the Resize panel. To be able to preview the result you achieve switch to the Preview mode clicking the corresponding button of the Toolbar.
If you need to fit your images to a particular size select the Custom option from the drop-down list. The Additonal Resize Options panel will open. Set the necessary Height and Width values using the keyboard.
To avoid the loss of some image areas make sure that the Keep original proportion option is checked. Your images will be resized without any distortion or image areas loss. However in this case the image dimensions may be less than the specified ones because the value of one side will be set automatically to keep the image aspect.
To exactly fit your images to a particular size check the Use stripes box in the Resize panel and select the necessary Color. The stripes of the selected color will be added to your images to reach the exact dimensions.
Use the Navigation Panel below the Preview Area to navigate between all the imported images and preview them.
If the Keep original proportion option is unchecked some image areas will be lost.
Step 4: Edit your image files (optional)
After resizing your pictures you can make some auto-correction adjustments or apply some effects or add a visible text or image watermark to protect your images. To learn more on how to perform these tasks refer to the How to apply an effect to images and convert them to another format? and How to add logo to a group of images? guides.
If you want to resize your images you can perform this task at the Conversion tab using the Resize section and selecting the desired preset from the drop-down list. You can click the Advanced >> button to manually set a particular size.
You can also change output name in the Rename section of the Conversion tab.
Then set output folder for the resulting files. To do that select one of the folders from the Destination Folder drop-down list. If you want to specify your own folder press the Browse... button. In the opened window browse for the desired directory and press the OK button.
Click the Convert Now! button to start the conversion process. When the conversion is over you can open the folder with your watermarked photos and post them on the web site.