
How to remove red eyes from a photo?
- Introduction
- Step 1: Download and install Soft4Boost Photo Studio
- Step 2: Run Soft4Boost Photo Studio and find the photo you want to edit
- Step 3: Remove the red-eye effect
- Step 4: Save the edited photo
It often happens that the resulting colored photos have the red-eye effect, i.e. red pupils in photos of eyes. It occurs when using a photographic flash very close to the camera lens (as with most compact cameras) in ambient low light. But you can easily remove red eyes within the Soft4Boost Photo Studio program interface using the Red Eye Correction tool.
Step 1: Download and install Soft4Boost Photo Studio
Click here to download it. After the download is finished, run the S4BPhotoStudio.exe file and follow the installation wizard instructions.
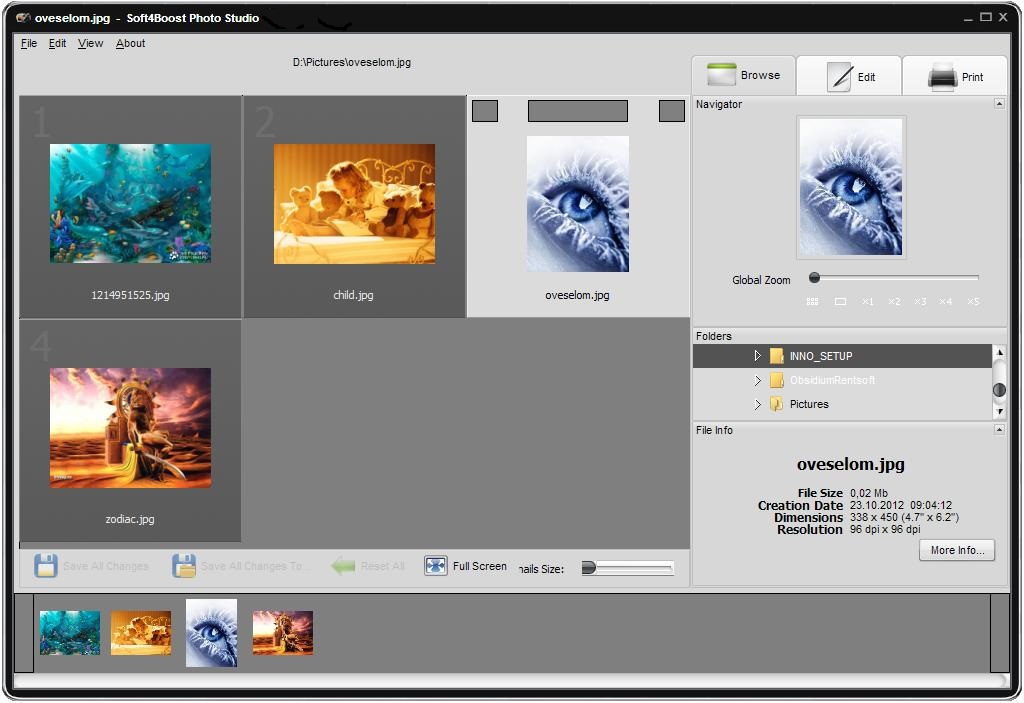
Step 2: Run Soft4Boost Photo Studio and find the photo you want to edit
First of all run Soft4Boost Photo Studio. To do that find the corresponding program icon on your desktop and double-click it. If you unchecked the Create desktop icon box during the installation, you can run the program from the Start menu. Please follow Start > All Programs > Soft4Boost > Photo Studio.
After the program was launched, click the Browse tab on the left side of the window. In the Folders section you will see the folder tree that represents the files and folders structure of your computer. Open the necessary folders by left-clicking them. The contents of the folder that contains the image file you want to edit will be displayed in the panel situated at the bottom of the window and in the Preview Area as thumbnails. Double-click the necessary image and it will be displayed occupying the whole Preview Area.
Step 3: Remove the red-eye effect
As soon as you select an image by double-clicking it, the Edit tab will be opened. Find the RedEye button there and left-click it once to open the Red Eye Correction tool settings.
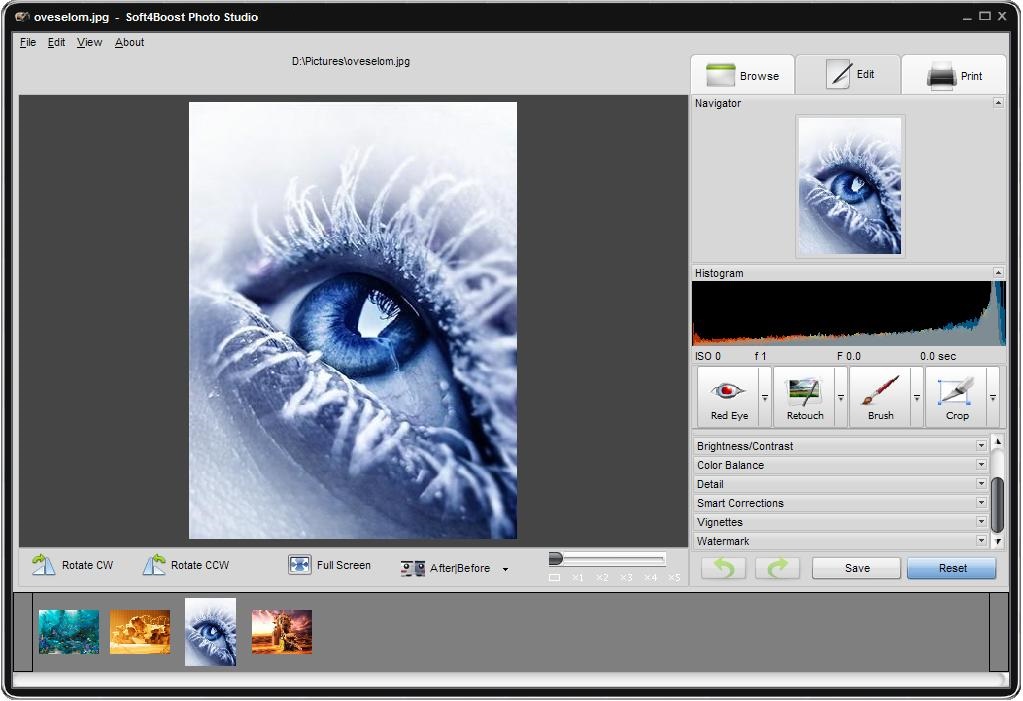
After that hover the mouse cursor over the photo within the Preview Area - you will see an applying area beside it. Move the mouse cursor to one of the red eyes. In the tool settings section change the Size of the applying area so that it covers the eye.
You can do that by dragging an indicator along the slider or entering a value from 5 to 200 in the field next to the slider using the keyboard and then pressing the Enter key. Then click the left mouse button and the retina color will be corrected. Follow the same procedure to bring other eyes displayed in the photo their natural color back.
As soon as the needed photo is edited, you can save it. To do that click the File section of the Main Menu situated in the upper left corner of the program window. Here you can select one of the save options: Save and Save As.
That's all! So easily you can remove the red-eye effect and correct your photo.