How to create a photo slideshow?
- Introduction
- Step 1: Download and install Soft4Boost Slideshow Studio
- Step 2: Run Soft4Boost Slideshow Studio and add your photos
- Step 3: Add transitions between your photos
- Step 4: Add background music
- Step 5: Create a disc menu (optional)
- Step 6: Save your slideshow
If you need to create a presentation out of your digital photos or just want to make their showing more expressive, use Soft4Boost Slideshow Studio is what you need. Just follow the easy steps below.
Step 1: Download and install Soft4Boost Slideshow Studio
Click here to download it. After the download is finished, run the S4BSlideshowStudio.exe file and follow the installation wizard instructions.
Step 2: Run Soft4Boost Slideshow Studio and add your photos
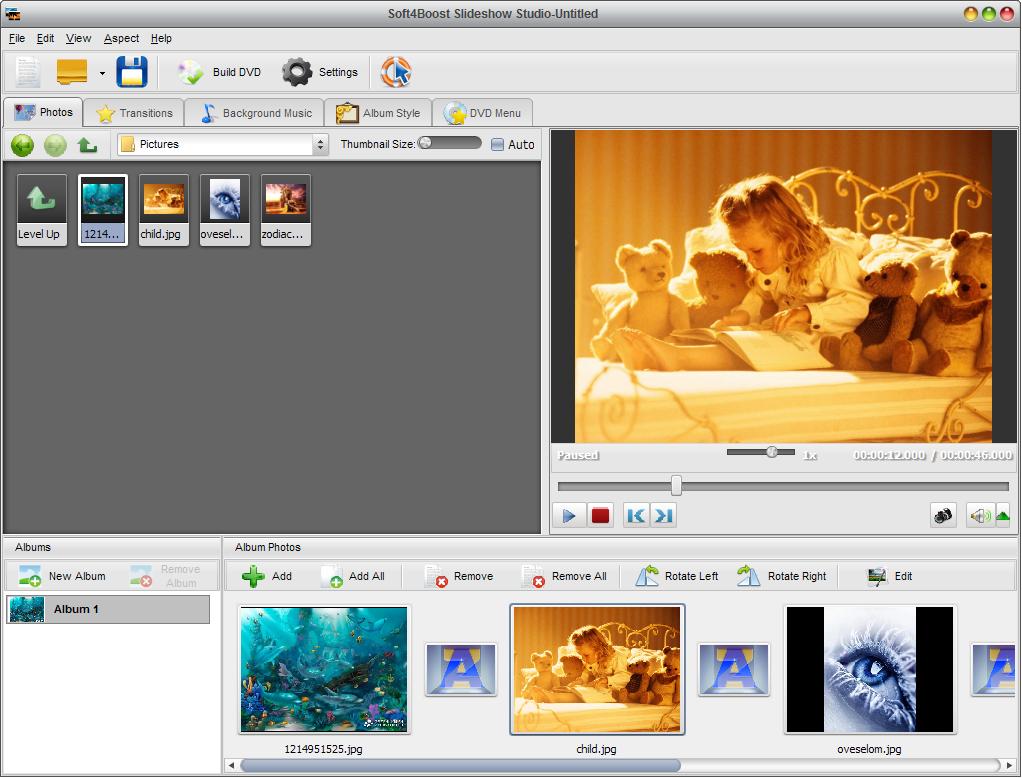
First of all run Soft4Boost Slideshow Studio. To do that find the corresponding program icon on your desktop and double-click it. If you unchecked the Create desktop icon box during the installation, you can run the program from the Start menu. Please follow Start > All Programs > Soft4Boost > Slideshow Studio.
Set the folder with target photos in Photo tab. Then click Add (or Add All) button to add your images.

Step 3: Add transitions between your photos
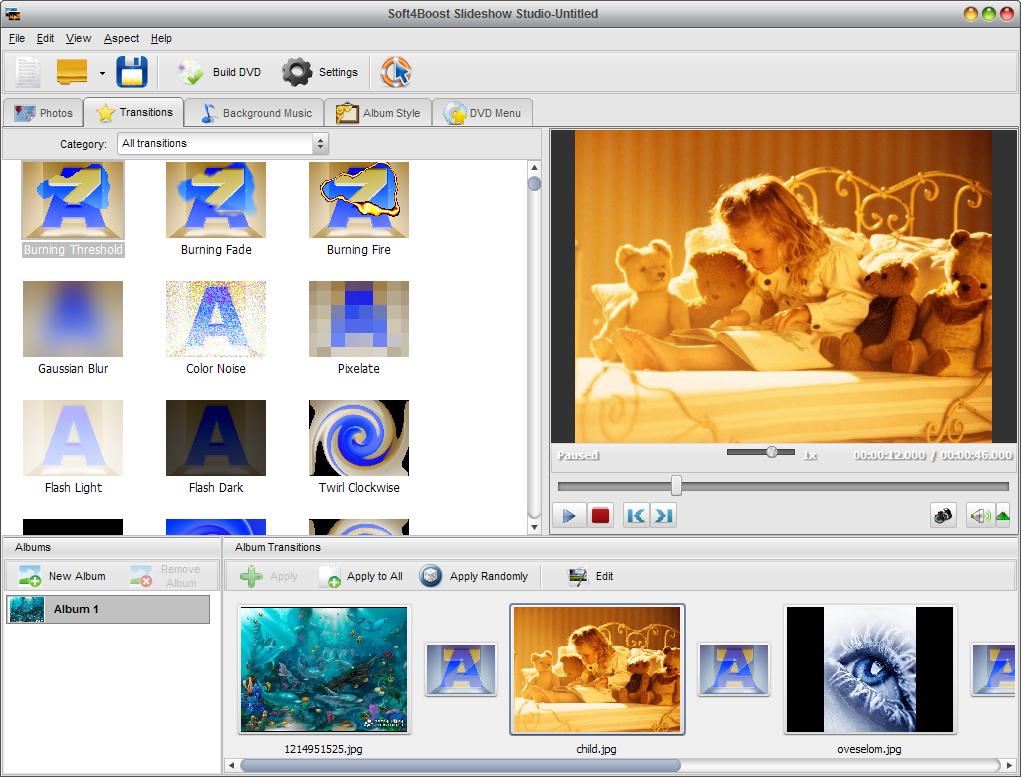
All the available transitions will be displayed in the Transitions tab. To add some particular transitions first select the place between the two images on the Storyboard where you want a transition to be added, then right-click the transitions in the Files and Effects area and add them one by one.

To use one and the same transition between all your photos select the Apply to All option from the express menu. To apply transitions randomly use the Apply Random option.
To add an audio track as background music click the Background music tab and set the folder with audio tracks. Drag-and-drop one of the audio tracks to the line for audio mix of the Timeline.
Step 5: Create a disc menu (optional)
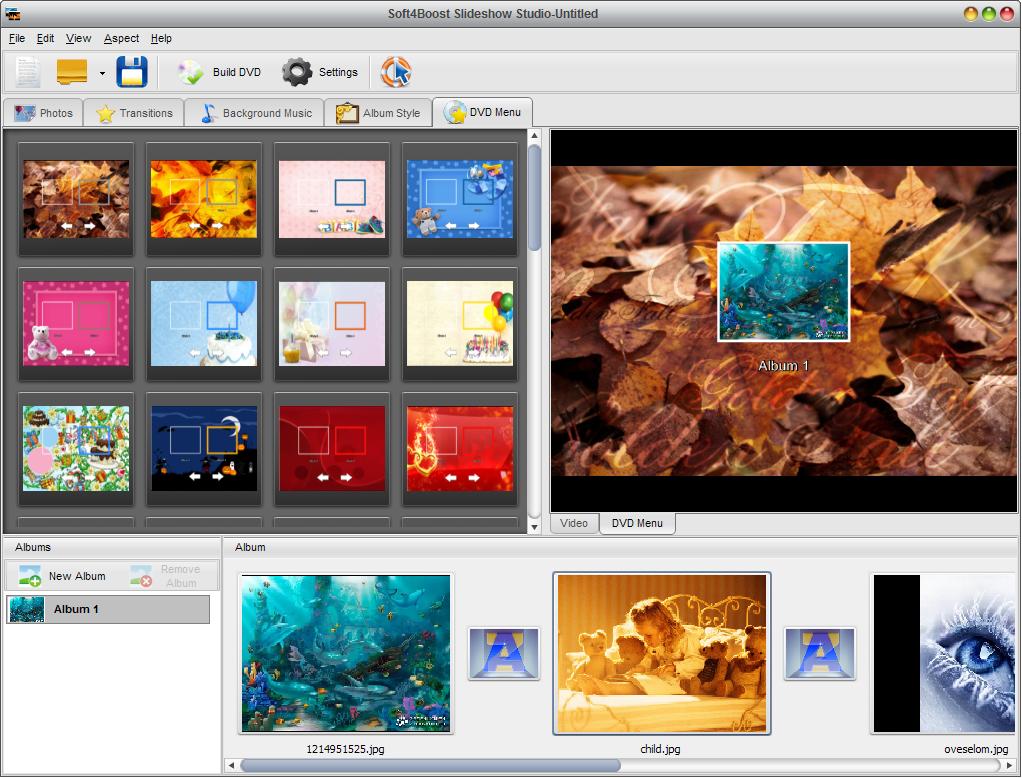
Click the DVD Menu tab. Double-click the desired menu style preset in the Files and Effects area to apply it to the slideshow.

To preview your created menu return to the Styles view mode and use the Preview Area controls.
Click the Build DVD button to start the conversion process.
