How to create an MPEG-4 compatible CD (DivX or Xvid)?
- Introduction
- Step 1: Download and install Soft4Boost Video Converter
- Step 2: Run Soft4Boost Video Converter and select your input video file
- Step 3: Set up the conversion parameters
- Step 4: Set up a proper video output file path
- Step 5: Convert your files
- Step 6: Burn your resulting video files onto a CD
You have a home video player supporting MPEG-4 video format? Sometimes you might need to write video onto a CD in DivX or Xvid formats. Soft4Boost Video Converter enables you to create MPEG-4 compatible CDs with no difficulties.
Step 1: Download and install Soft4Boost Video Converter
Click here to download it. After the download is finished, run the S4BVideoConverter.exe file and follow the installation wizard instructions.
Step 2: Run Soft4Boost Video Converter and select your input video file
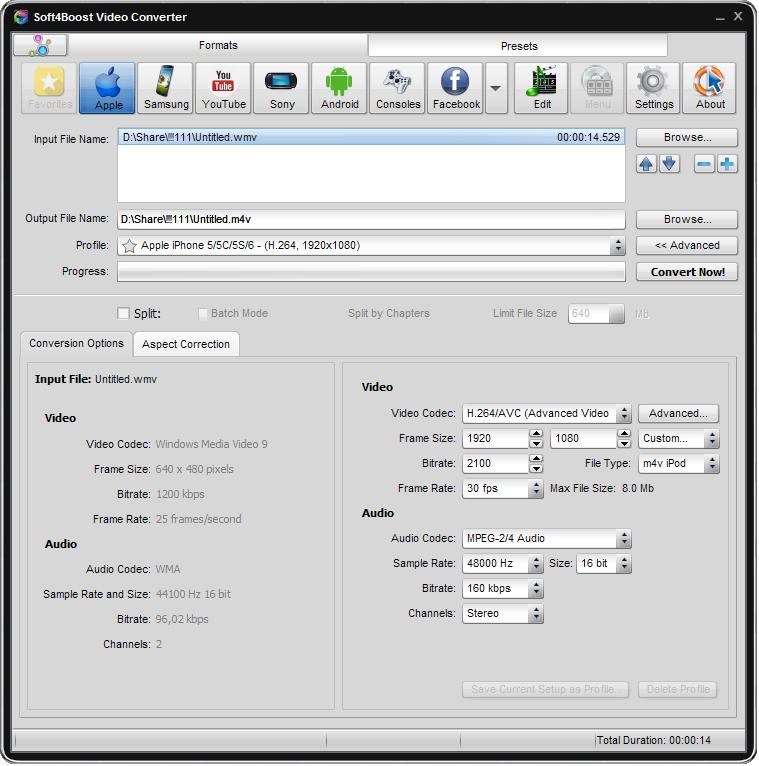
First of all run Soft4Boost Video Converter. To do that find the corresponding program icon on your desktop and double-click it. If you unchecked the Create desktop icon box during the installation, you can run the program from the Start menu. Please follow Start > All Programs > Soft4Boost > Video Converter.
To select a video you would like to convert hit the Browse... button next to the Input File Name field. In the opened Windows Explorer window browse for the necessary video file.
Step 3: Set up the conversion parameters
After you have selected the video input file, click the To AVI button on the Formats tab of the Main Toolbar. In the list of Profiles (Profile field) select one of the offered preset profiles. Or click the Advanced >> button to manually set the profile parameters in the Output File section of the Conversion Options tab. For this task you have to use one of these profiles:
- HD Video 720p: MPEG-4 (DivX, XviD), 4500 kbps; Audio: MP3, 192 kbps;
- Video: DivX; Audio: MP3, 192 kbps;
- Video: MPEG-4 (DivX, Xvid), 1500 kbps; Audio: MP3, 192 kbps;
- Video: MPEG-4 (DivX, Xvid), 768 kbps; Audio: MP3, 96 kbps.
Note: before selecting the HD Video profile, please, make sure your home video player supports this format.

Step 4: Set up a proper video output file path
Click the Browse... button next to the Output File Name field and select a location on your HDD for the output video file.
Note: when you select a location for your output video file, you should save the file to your personal computer HDD.
Press the Convert Now! button to start the conversion process. After that you can start burning CD disc using Easy Disc Burner.
Step 6: Burn your resulting video files onto a CD
You can select the necessary disc drive if you have several, refresh it and mark the Verify disc check-box to make sure the disc is recorded correctly.

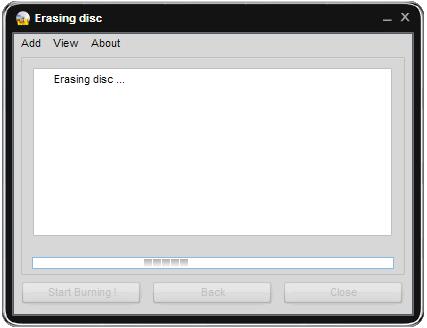
Now click the Start Burning! button to begin the recording. Note, that if the disc is not empty you will be offered to erase it. If you do not want to do that, you can eject the disc and use another one instead.
After the burning is over the disc will be ejected automatically. Note, if you checked the Verify disc, the recording will take a little longer depending on the size of the output files as the program will need time to verify them.
Your MPEG-4 compatible CD is ready!
