How to start working with Soft4Boost Video Studio?
- Introduction
- Step 1: Download and install Soft4Boost Video Studio
- Step 2: Run Soft4Boost Video Studio and load your video
- Step 3: Add your video to the Timeline
"The first is the worst" is not about your primary experiences with Soft4Boost Video Studio anymore if before using it to implement your ideas into reality you will rely on the following logical steps thus passing on to the main actions without any delay and difficulties.
Step 1: Download and install Soft4Boost Video Studio
Click here to download it. After the download is finished, run the S4BVideoStudio.exe file and follow the installation wizard instructions.
Step 2: Run Soft4Boost Video Studio and load your video
First of all run Soft4Boost Video Studio. To do that find the corresponding program icon on your desktop and double-click it. If you unchecked the Create desktop icon box during the installation, you can run the program from the Start menu. Please follow Start > All Programs > Soft4Boost > Video Studio.
To create your new project you can load a desired video file using different sources:
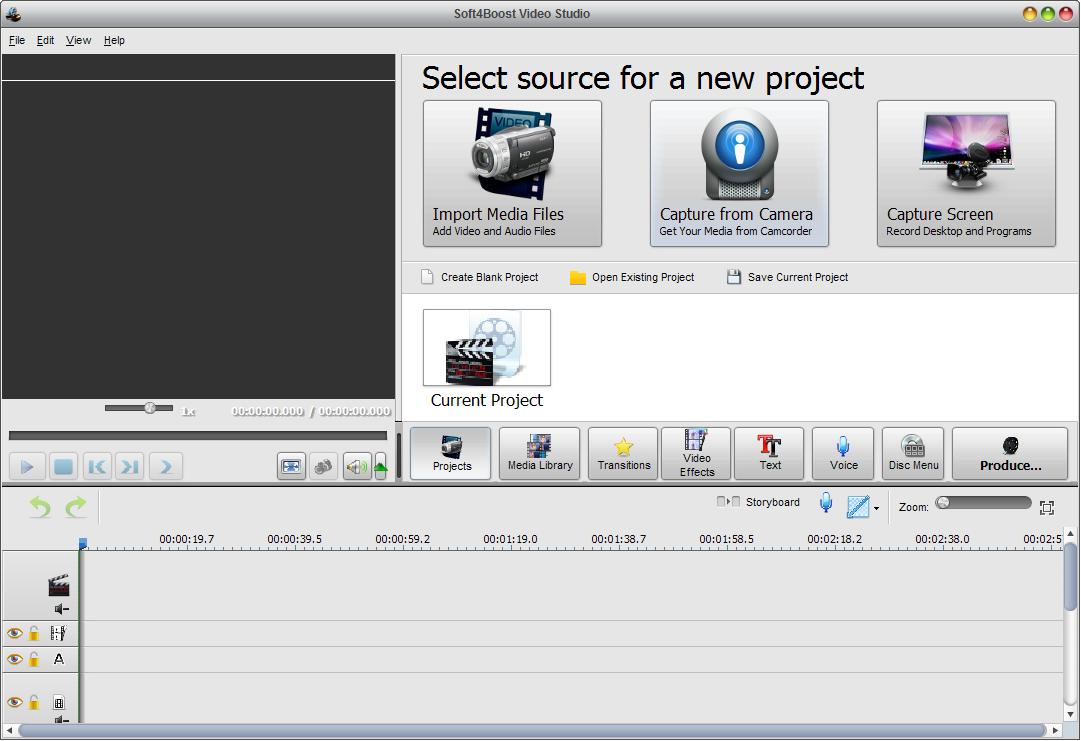
- Press Import Media Files to add media files stored on your computer HDD. In the opened Windows explorer window select the needed video file and click Open;
- Press Capture from Camera to use video recordings captured from your camera. The Soft4Boost Video Capture application will be launched to let you do it;
- Press Capture Screen to use video recordings of your desktop. The Soft4Boost Screen Recorder application will be launched to let you do it.

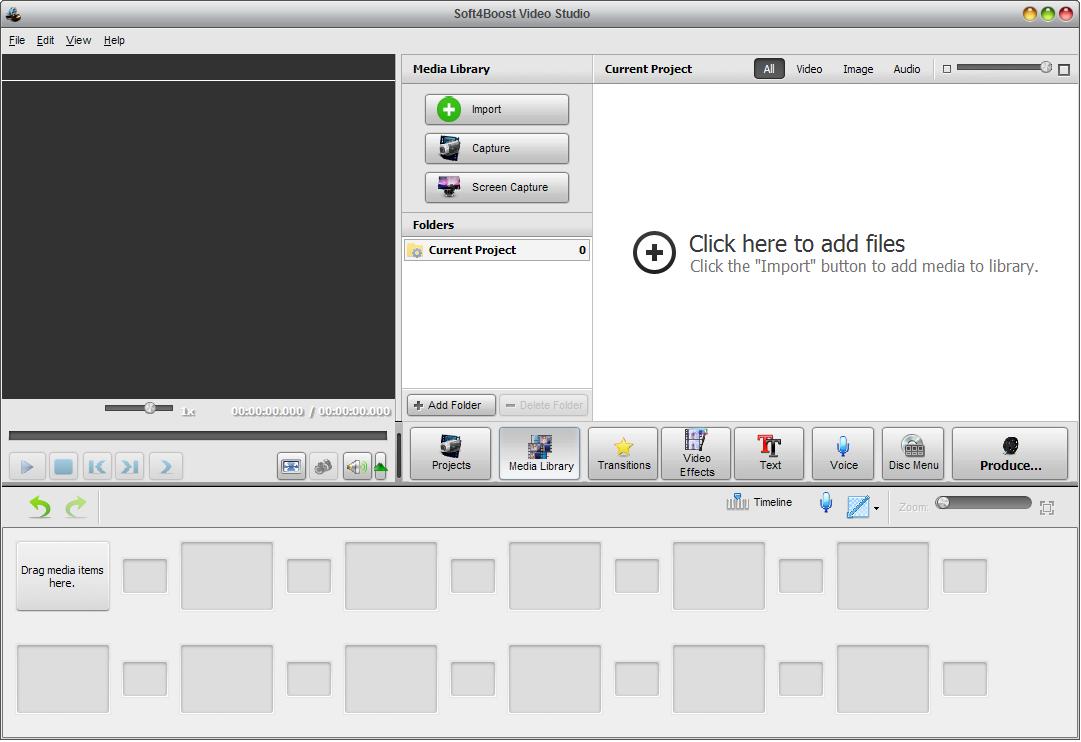
In any case your input video file will be placed into the Current Project folder of the Media Library and displayed in the Files and Effects Area. At this moment you'll be asked if you want to set the aspect ratio for this project in accordance with the aspect of the first video or not.
Note: it is recommended to set the aspect ratio for your project at the beginning of your work to avoid distortions of the output video. If you need to change the aspect ratio of the project, select the Aspect Ratio item in the Edit section of the Top Menu, then set an appropriate value.
If you want to load some more files to your current project use the Import, Capture or Screen Capture buttons of the Media Library.

To navigate between your media files loaded into the program use the folders on the left. You can also sort your media files using the category buttons located above the Files and Effects Area.
Note: you can find some predetermined Samples in each category of media files.
Step 3: Add your video to the Timeline
To apply different effects to your video, place the movie to the Timeline area, first of all. If you import a new file to the program using the buttons from the Start Project page, this file will be added to the Timeline automatically. If you need to add several more files to the Timeline do it manually. Select your video in the Files and Effects Area and without releasing the left mouse button drag it to the very first row of the Timeline and only after that release the button to drop the video there.
Now all the preliminary actions are done and you can proceed to add transitions, apply different effects, lay text and other videos over the main ones, dub episodes and create DVDs with menus.
