How to add a title after the selected clip in the Timeline?
- Introduction
- Step 1: Apply a special transition between the videos
- Step 2: Adjust the transition properties
- Step 3: Lay a text pattern over transition
- Step 4: Assign the proper moments for the title to appear and disappear
- Step 5: Replace the default text with your own
- Step 6: Format the text
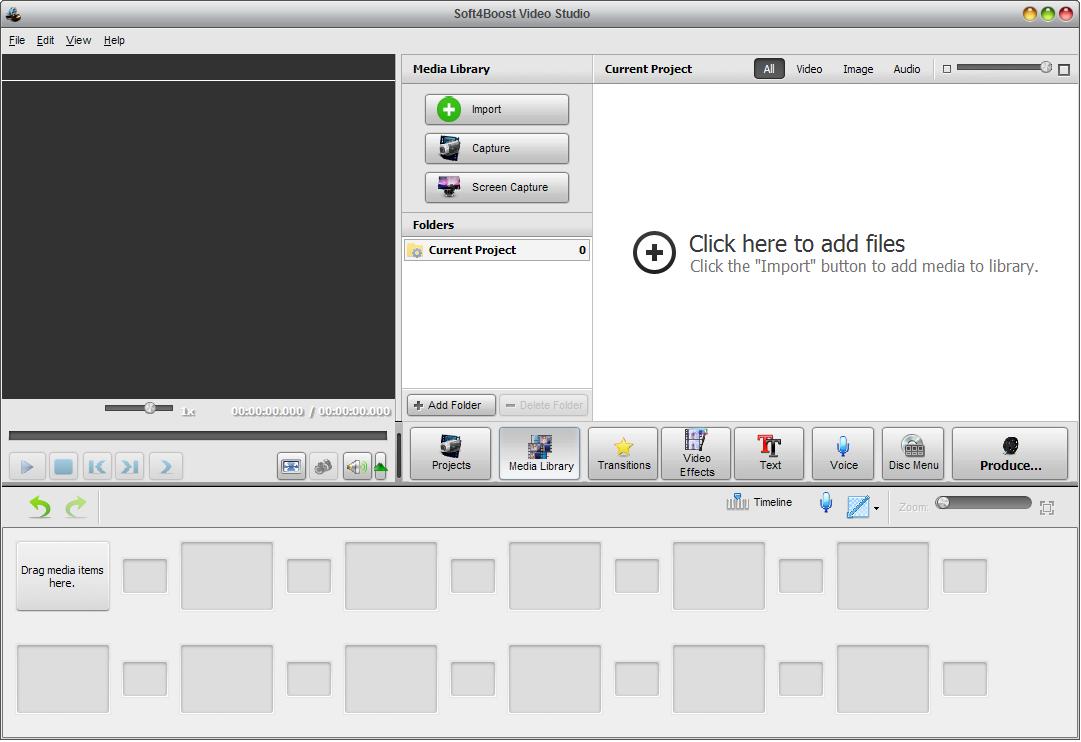
Suppose, you want to compile a kind of the video anthology and say, it is supposed to have afterwords following each new scene. The task can be easily embodied using Soft4Boost Video Studio. The idea is to separate two adjacent scenes (or videos) with a black screen transition and to lay a text over it. If you feel you are a beginner in using Soft4Boost Video Studio it will be useful to learn how to import your video and place it to the Timeline of the program for a start and after that just follow the steps of this guide for all the details.
Step 1: Apply a special transition between the videos
Decide on after which video you want to add a title. Switch to the Storyboard mode.

Click the Transitions central button, select the Enhanced group on the left and choose the Flash Dark transition pattern in the Files and Effects Area then drag and drop it to the transition container which follows the video you chose.
Step 2: Adjust the transition properties
Make a double click on the transition container in the Storyboard area. The Transition window will appear. By default the duration of this transition is 2 seconds. You can set your own value, previewing the result over and over again till it suits you. Input a value in the control box labeled as Transition Duration and then click OK.
Step 3: Lay a text pattern over transition
Here you came up straight to adding your title. Switch back to the Timeline mode. Then click the Text central button, choose the simple or animated text pattern you like in the Files and Effects Area then drag and drop it to the Text line of the Timeline.
Step 4: Assign the proper moments for the title to appear and disappear
To avoid the title presence both at the end of the preceding video and at the beginning of the one that comes next click the block you added and move it along the row holding the mouse button to obtain its disposition right under the transition pattern block.
Note: if you don't see the transition block, zoom in the Timeline moving the slider of the corresponding trackbar to the right.
Then correct the position of the text block borders. Place the mouse cursor to a border of the text block until it looks like arrow, hold the left mouse button and narrow the block on the left and right side borders by turns looking at the Preview screen to catch the moments your title is present neither at the end of the preceding video nor at the beginning of the next one.
Step 5: Replace the default text with your own
Make a double click within the text pattern block. The Text Editor window will appear. Make a double click on the default text, delete it and input your text.
Note: take into consideration that each time you press the Enter key the cursor will start a new line.
It's time you showed your creativeness. Look at the Draw presets and Animation presets sub-tabs of the Presets tab and apply the predefined adjustments they contain or switch to the Objects tab to create your own styles to decorate the title. The main goal is achieved by now, all is left to do is to save your project, assign a directory for saving your video and finally start its creation.
